How to Properly Shim your Gearbox
Shimming is based on the simple principle of having the most tooth contact between gears while having enough space so that they don't rub on themselves or any other part of the gearbox.
However, as simple as it sounds, it's often much more complicated.
There are two shimming methods to date. The oldest is called the Spur Gear Method. As it sounds, you start by shimming the spur gear so that it doesn't rub on the gearbox shell, and then simply shim everything else accordingly. However, the problem with this method is it doesn't allow for proper contact between the pinion gear and the bevel gear. Often times these can be off, resulting in increased bevel and pinion gear wear. For most stock set ups, this isn't much of a problem, as enough of the teeth are making contact that it won't destroy the gun. However, in more extreme set ups, it can be the difference between stripped gears and a long lasting gun.
This method, the one I'll be covering, is called the Bevel Gear Method. As you can guess, I start with the bevel gear instead of the spur gear. By adjusting the bevel gear, I can assure that the pinion has proper contact with the bevel gear.
Why Should You Shim Your Gearbox?
Shimming your gearbox will lead to less strain on your motor, and a longer lasting gearbox. Because stock guns are almost never shimmed correctly, the gears can rub against each other. This can cause them to break, or damage other parts of the gearbox.
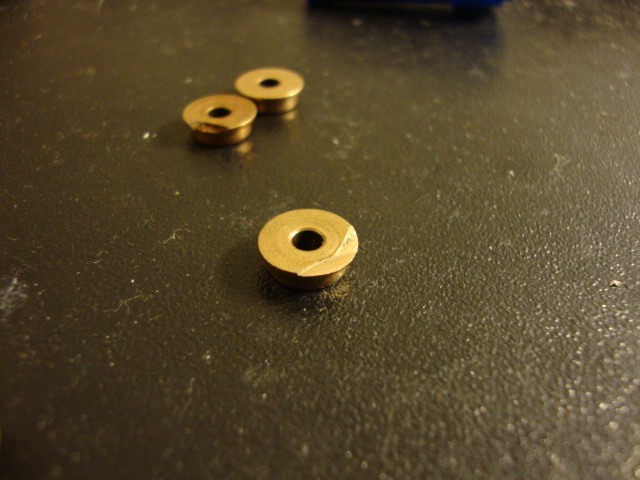
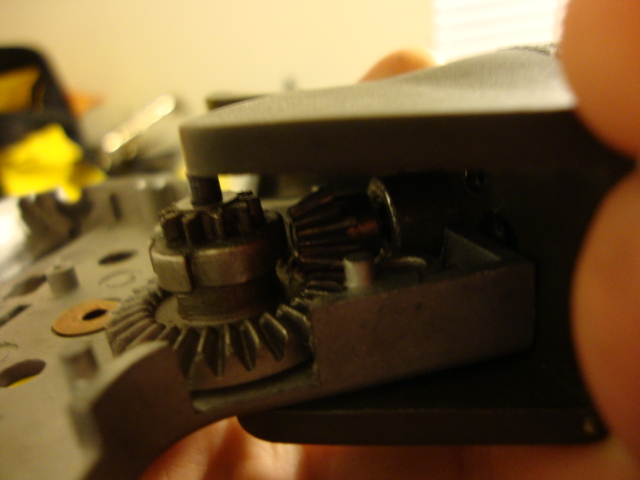
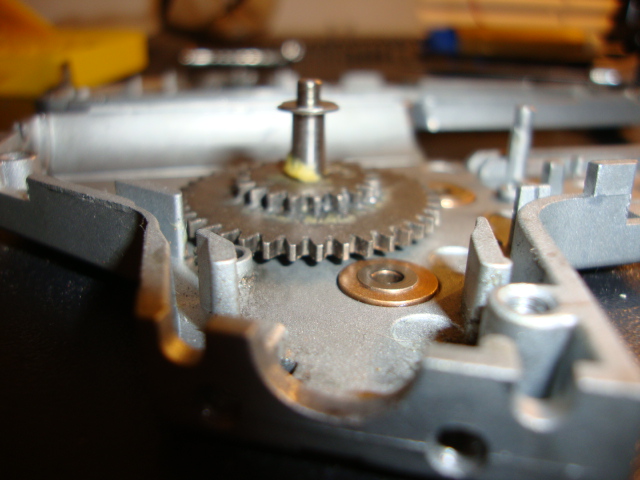
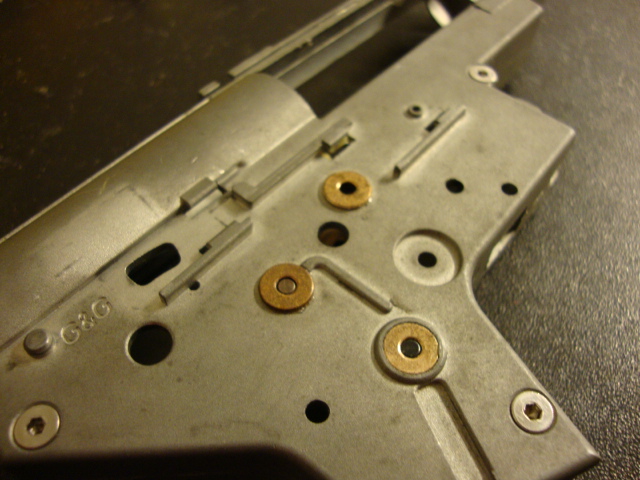
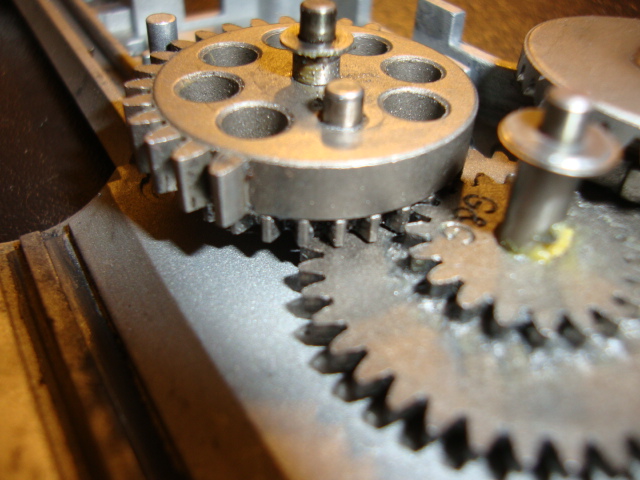
Here, you can see some damage the gears did to a bushing, where the spur gear rubbed against it and dug a ridge into the bushing. Had this been a steel bushing, it likely would have damaged the gear, and caused a failure.
Having the gears properly shimmed will also cause the gun to be more efficient. The motor won't have to work as hard to over come the friction that the gears would have from rubbing on other stuff within the gearbox. Your battery will last longer, and you might even see a slight increase in your rps.
The gears will last longer in a properly shimmed gearbox. Having the most contact between the teeth means they will be able to hold up to springs better than normal. This also means that you can get more out of stock gears than normal, allowing you to upgrade the spring without having to worry about upgrading the gears, in most cases.
How to Shim your Gearbox:
First, lets start with this:
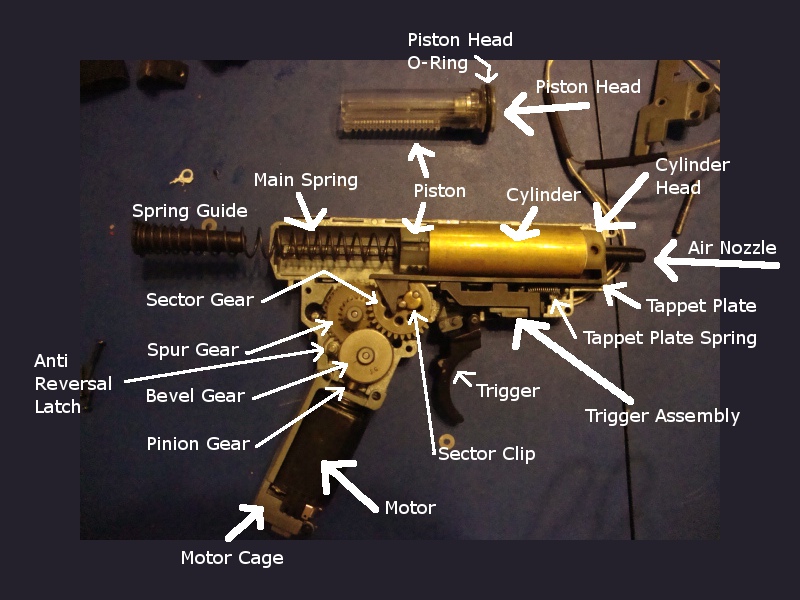
Here you can see all the internals of the gun labeled. Well, MOST of the internals. This is a version 3 gearbox, out of a G36. What we are most interested in are the gears. From top to bottom, the Sector Gear, the Spur Gear, the Bevel Gear, and the Pinion Gear. The Sector gear is the one that makes contact with the piston, and the Pinion gear is the one that sits on the motor.
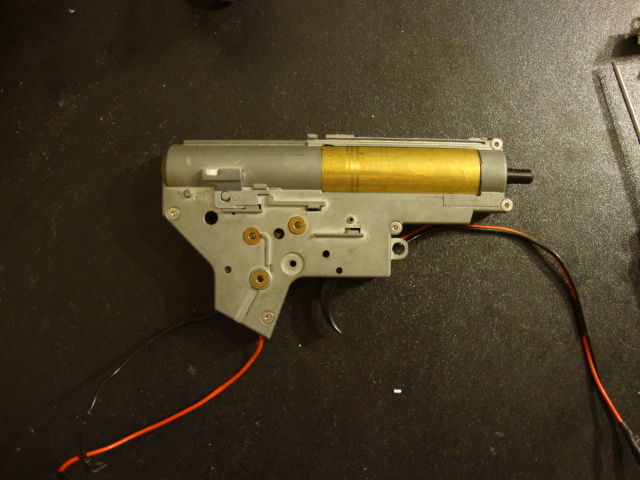
For this guide, We'll be using a Version 2 gearbox. It is out of a G&G Combat Machine. The extra pneumatic blow back system has already been removed, so you see the gearbox almost as it would appear from any other version 2 gun.
For this guide, We'll be using a Version 2 gearbox. It is out of a G&G Combat Machine. The extra pneumatic blow back system has already been removed, so you see the gearbox almost as it would appear from any other version 2 gun.
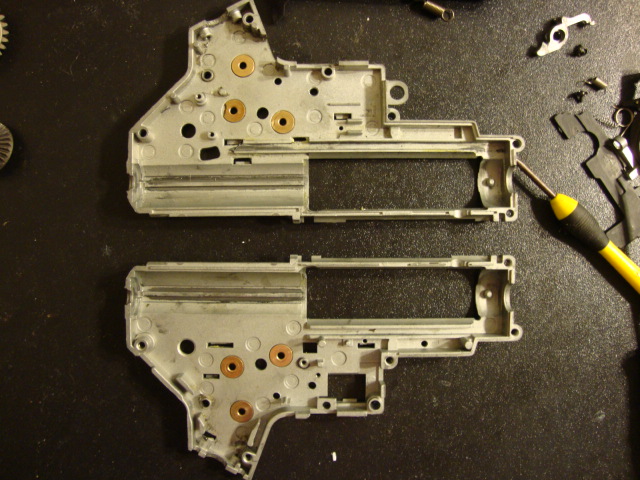
Your first step is to remove everything from the gearbox and clean it. And by everything, I mean everything.
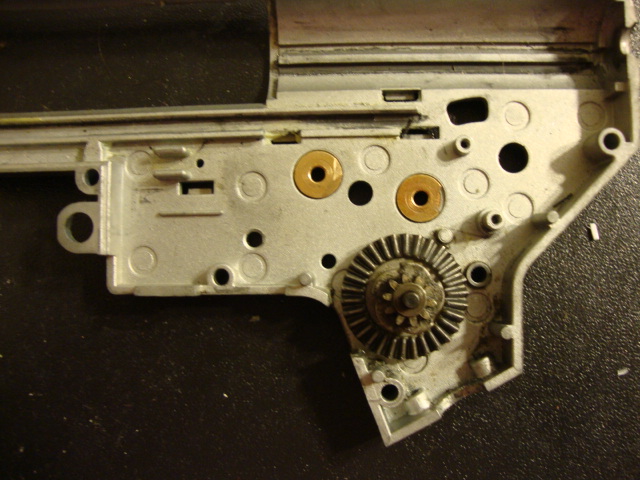
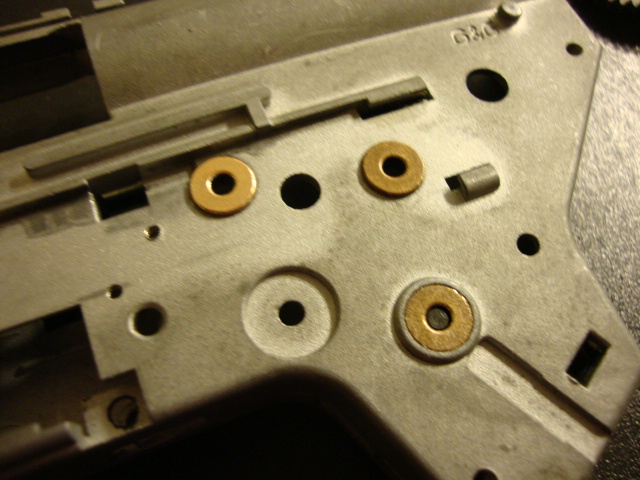
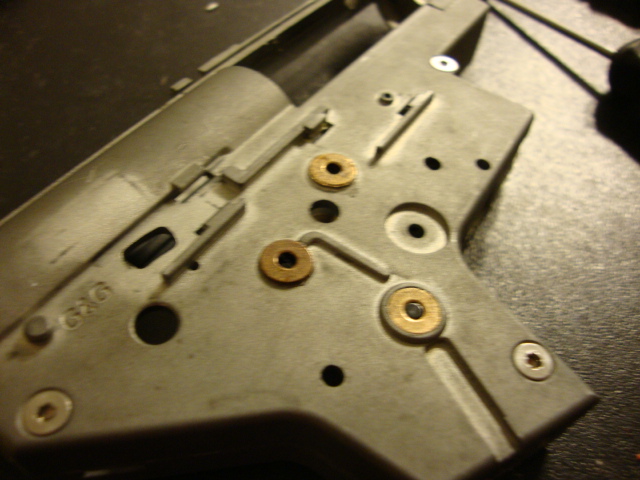
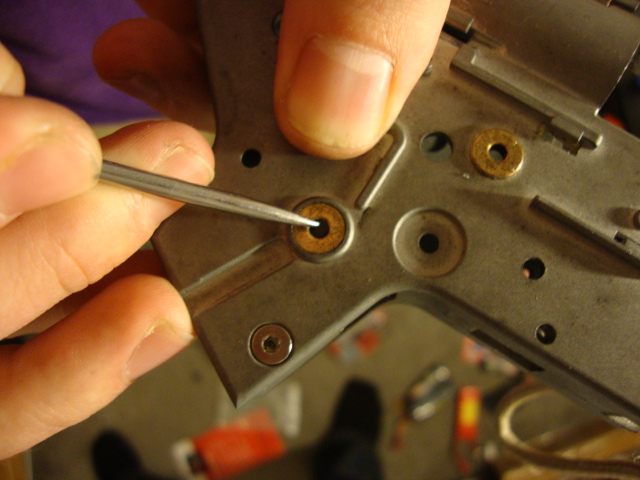
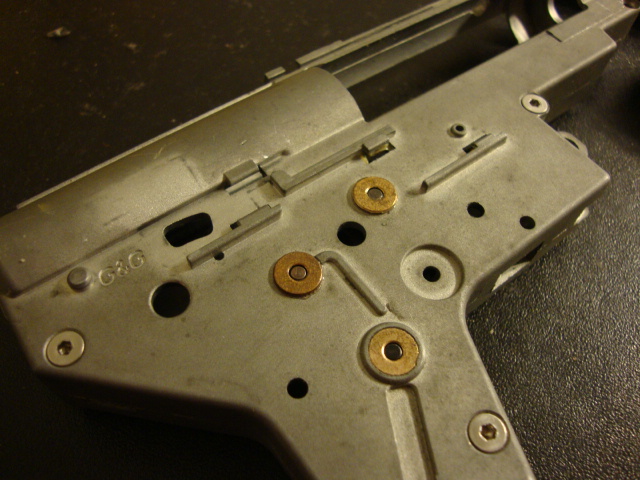
All the grease is gone, all that's there is the shell itself and the bushings. Please note the different sides of the gearbox as I go through the guide. I might not mention when I've switched sides.
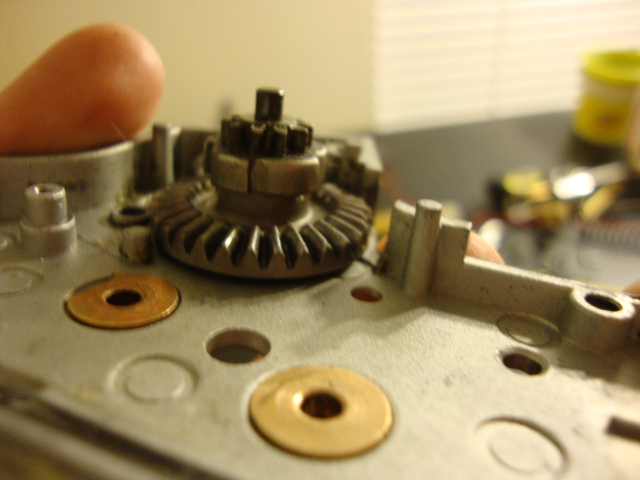
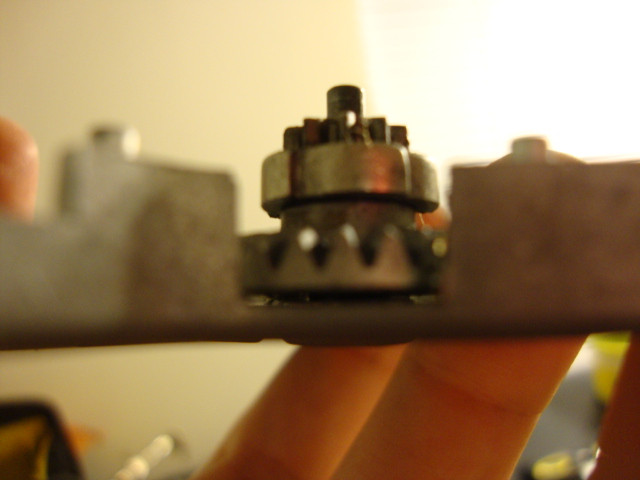
So, when you are shimming using the Bevel Method, you start with the bevel (surprise, surprise...) Basically, first, you want to make sure it isn't rubbing against the gearbox shell.
You don't necessarily need to be able to see under the bevel gear as you can in that last picture, it's mostly to just prove a point.
Now this next part is the hardest part, and the most crucial for you to get right. The motor height adjustment moves the motor up and down, thereby moving the pinion up and down. Now, what's important here is that you move the pinion gear in such a way that it will make the most contact with the bevel gear. THEN, you move the bevel gear to match the pinion gear. It's a slow process, but gives the best results.
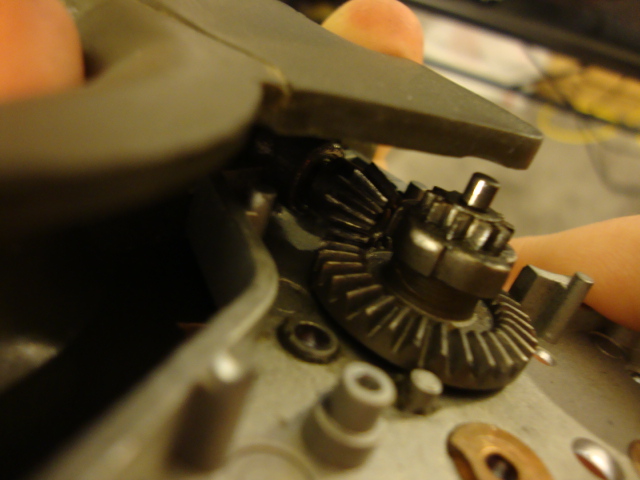
First you are going to want to attach the pistol grip to the lower gearbox shell, and install your motor. Then move the motor height accordingly. This is really hard to take pictures of, so the best I have is pictures of what it should look like when you are done. You don't want the bevel gear to be tilted, you want it to stay level above the gearbox shell. You'll need to add shims to the bevel gear until it meshes properly with the pinion gear. A little warning, this will mean that you have to take your pistol grip on and off several times before you get it just right. Patience is a virtue.
Let's start with pictures.
Notice how the pinion gear is making contact with the bevel gear. The teeth are completely touching.
Now, once you've got that crucial part over with, the rest is almost just filling in the extra space. You can remove the motor and pistol grip at this point. As a matter of fact, I suggest it. They really get in the way when trying to open and close the gearbox shell.
Now you're going to want to close your gearbox.
Note that that bevel gear is the only thing in the shell. Nothing else is there. Now, go ahead and put a few screws in the shell, to tighten it down around the gears. You don't need to put all the screws in, just the ones around the gear set.
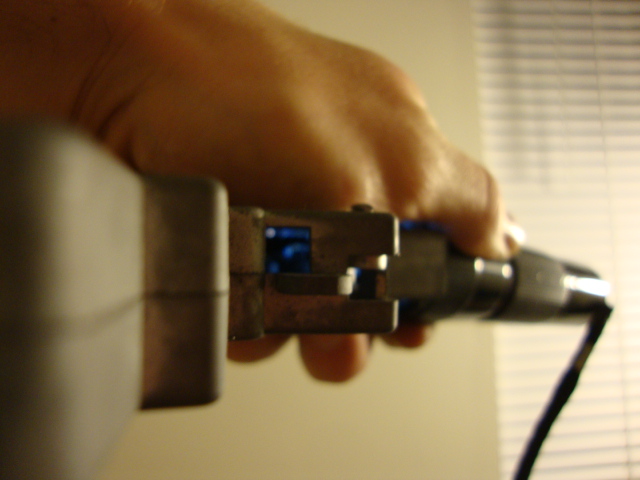
Now, hold the gearbox about like this:
And use something small and pointed to push on the gear. Ideally, you don't want it to move at all, BUT, no one is perfect, so you want it to move just a little bit anyway. Remember, It's better to have a little wiggle room than for the shimming to be too tight. You want to see how tight the gear is in there. It should be a little loose, and you should be able to move it up and down. I find it the easiest to have my finger pushing on the opposite bushing, pushing the gear up a bit. Then, when I push on the top, I can get a good feel for how much the gear actually moves, along with seeing it with my own eyes. That will give me an idea of how many shims I need to add to the smaller end of the bevel gear. Remember, we've already shimmed the flat side of the bevel gear, so only add shims to the smaller side. A little test is to use something small to give the gear a little spin. If it spins freely, and hardly slides up and down, with the gearbox screwed shut, then you are done, and can move onto the next step. If that's not the case, then you'll need to add/remove a shim or two to make it spin more freely. You don't want it too tight.
Now, the bevel gear has been properly shimmed. It hardly slides up and down when you put pressure on it, it's good to go. Next up, the Spur Gear.
Now, the bevel gear has been properly shimmed. It hardly slides up and down when you put pressure on it, it's good to go. Next up, the Spur Gear.
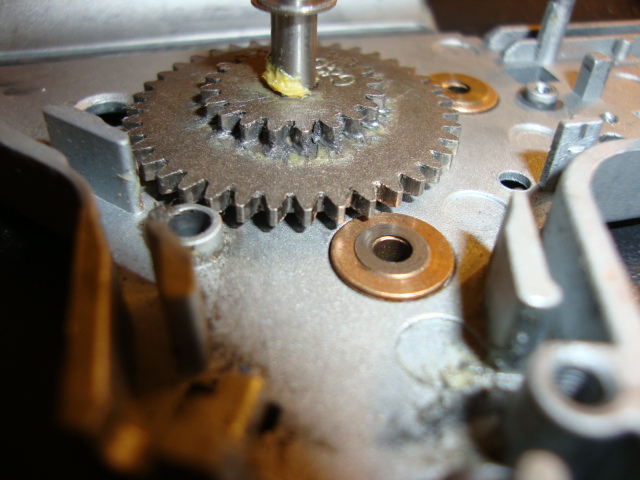
Now, here we have the Spur gear, note, we want it to be high enough that it won't be rubbing on the bushings, or on the gearbox shell. This will damage the bushings and or gears, causing big problems in guns. Once you've got enough clearance that it doesn't make contact with the shell or the other bushings, you'll want to flip it over onto the other side of the shell, over with the bevel gear.
Now, here, you want to make sure that the gears mesh as completely as possible with the gears of the bevel gear. But you don't want the bevel gear rubbing on the flat part of the spur gear. That will cause friction, and friction is bad.
Being able to see through the gap isn't important, but it's a measure that you've got enough space. G&G's spur gears are very thin, so the gap is relatively easy to see as compared to other guns. Once you've got the spur gear risen up enough so that it doesn't rub on the bevel gear, it's time to shut your gearbox again, screw it down, and see how many more shims you'll need to add to the gear to make sure it doesn't slide around.
Now, once again, you are filling in the gaps. This time, you'll want to put the shims under the larger, flat part of the spur gear. Think about it, raising the spur gear any further off the gearbox shell isn't going to hurt it, but if you lower it, it could loose it's proper contact with the bevel gear, and we don't want that. I took some pictures, trying to find the gap between the gears from inside the gearbox, and they didn't come out very well. Sometimes you can see it, sometimes you can't. But it is important that you know that the two aren't rubbing against each other.
This is a very bad image. All it is is blurs, I'm mostly using it to give you an idea of where you can look to see the spur to bevel interaction. I've got a flashlight shining into the pinion gear hole to try and light the area up. To human eyes, it's not hard to see, but my camera had quite the difficulty focusing on what it was supposed to. Once you get to this point, you'll be able to see it pretty clearly. Remember, it's better to have the spur gear be a little loose than too tight. Similar to the bevel gear, you should be able to take a small screw driver and spin the gears with ease. If you can't, the shimming is too tight, or there is friction between the gears.
Now, the bevel and the spur gear have been shimmed. All that's left is the sector gear.
For the sector gear, I flip everything over into the other half of the gearbox shell.
Now, the bevel and the spur gear have been shimmed. All that's left is the sector gear.
For the sector gear, I flip everything over into the other half of the gearbox shell.
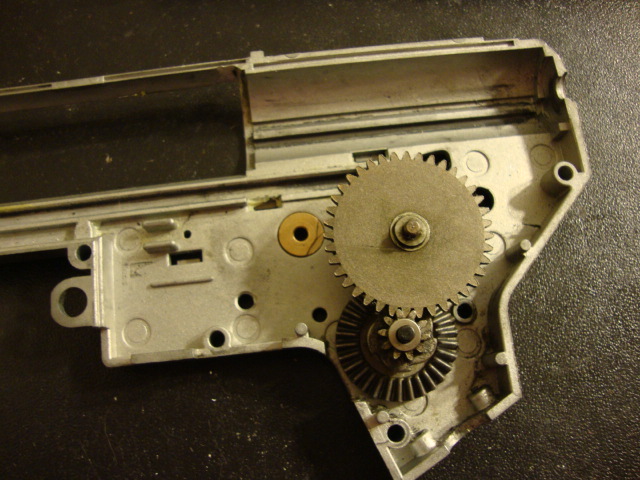
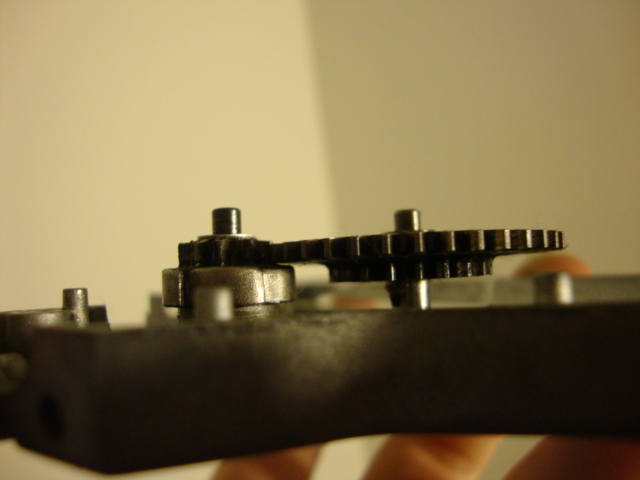
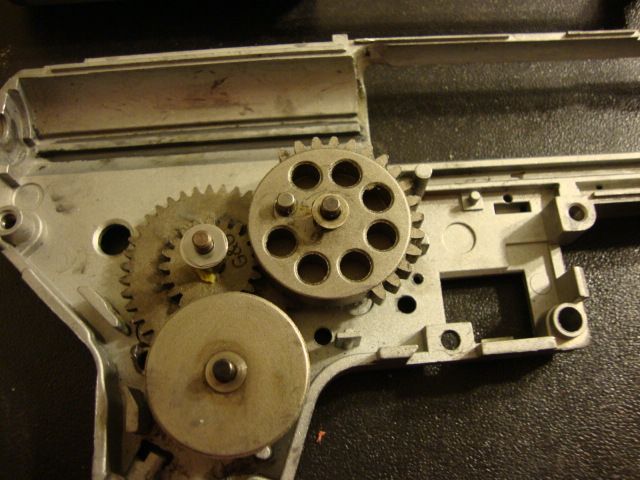
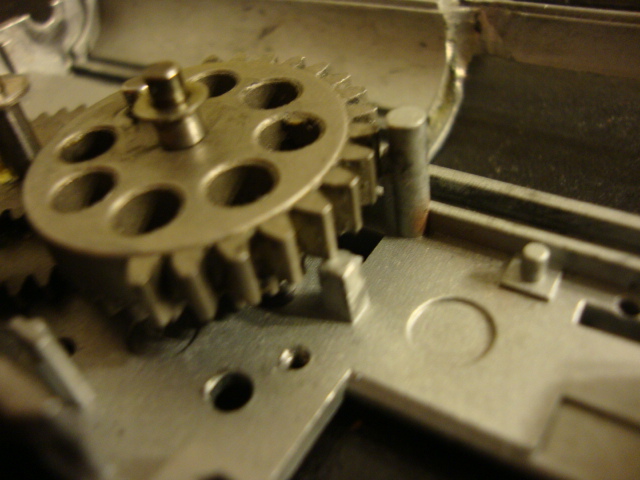
The sector gear has a few more points where contact can be made. Like the other gears, you want to make as much tooth contact as possible, but without having the gears rub against each other. However, there's also an extra little post that you don't want the gear to rub against either.
You can see the little shadow from the second picture showing the very small gap between the sector gear and spur gear. This one is a little tricky, unlike the wiggle room that the spur gear and bevel gear have, you want the sector gear to be as close to the spur gear as possible. It needs to be able to have as much tooth contact as possible, but without rubbing against the spur gear.
Once you've put enough shims on the bottom of the sector gear, to raise it up enough so that it doesn't rub on anything, and still meshes properly with the spur gear, then, once again, you'll want to close the gearbox shell, and figure out how many shims you'll need to add to the top of the sector gear to make sure it doesn't have much wiggle room inside the gearbox shell.
Once you've put enough shims on the bottom of the sector gear, to raise it up enough so that it doesn't rub on anything, and still meshes properly with the spur gear, then, once again, you'll want to close the gearbox shell, and figure out how many shims you'll need to add to the top of the sector gear to make sure it doesn't have much wiggle room inside the gearbox shell.
All shut, with all the gears inside the shell.
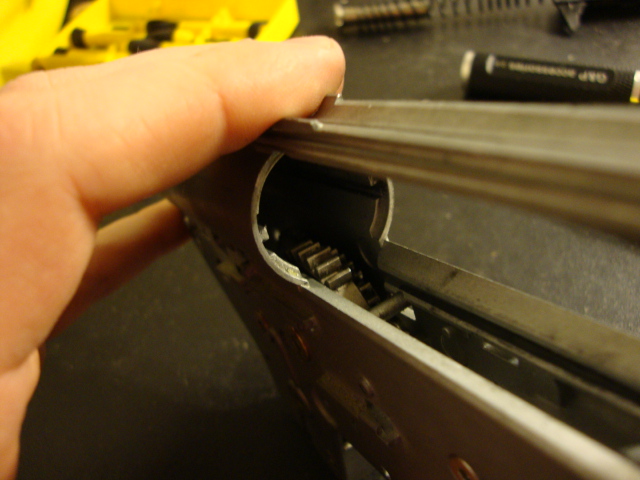
The sector gear is very easy to check, as you can literally just reach right in and move it with your finger. You can also look in to make sure it doesn't rub against the spur gear. Here is where you find out how well you've shimmed the gun. Once you've got all the shims on the gears, and they are all properly adjusted and sealed within the gearbox, you'll shut it up and put those same screws in the gun.
Now, you'll want to give the sector gear a flick with your finger. You should get at least two full rotations of your sector gear. If you don't get that many, you've got too much friction somewhere, either one of your gears are shimmed too tightly, or some gears are rubbing against each other.
Here is a very, very bad video that I took of the finished product. Even though it's as choppy as it is, you can see the gear spinning, and see what a very close to perfect shim job looks like. Don't expect your first shim job to spin as well as this does. I've got years of practice doing this.
Things to Remember:
1. It's better to have the gears too loose, than to have them shimmed too tightly. Loose gears will still rotate easily. Gears shimmed too tightly will cause the motor to strain, and can cause major electrical problems. Loose gears are much, much less likely to cause issues than tight gears.
2. You will have to take apart and put back together your gearbox many, many times. The more often you do it, the less times you'll need to. I generally only disassemble and reassemble the gearbox a few times. Regardless, you will always have to disassemble and reassemble the gearbox to make sure the job is done right. Yes, that means the screws too.
3. Patience. This takes a while, sometimes, a long while. If you need to put it down and take a break, do so, don't get angry when you can't get it shimmed just right.
4. There are guns out there, that can't be shimmed in this manor. I'm looking at you, KWA. Precision gearboxes aren't always the best. I have had times where the gears were too tight in the gearbox, and couldn't be shimmed because of it. It's something to keep in mind when attempting to shim your gun.
5. Keep an open mind. All guns are different, and often times you'll have to do something a little differently here and there. Just be creative. Remember the basic shimming principle, most tooth contact without rubbing on anything.
6. There's no correct number or measurement of shims that you add to a gun. Alright, yes, there is a precise measurement for each individual gun. But you won't know that measurement until you find it experimentally. No one can tell you how many shims your gun will need to be properly shimmed. You could need anywhere from .1mm shim on one tooth, to almost 1mm on each tooth. Every gun is different, and this is a very experimental process.
7. Any shims will work. Doesn't really matter on brand, like I said, the shimming is experimental, the precise measurements do nothing more than just tell you that this shim is smaller than this other shim. Personal favorites are SHS and Prometheus. G&G, Matrix, and Guarder make good sets. Systema sets are good for JGs because they are thicker than the other sets, but are usually too thick to be used without one of the other mentioned shim sets.
